")


")

Do you ever feel like you are juggling too many windows on your computer? It can be very frustrating to click back and forth between your homework and your research. Luckily, there is a simple trick to fix this. Learning How to Split Screen on Chromebook is the best way to get more work done in less time. By putting two windows side-by-side, you can see everything you need at once. This guide will show you exactly how to do it. You will become a master of your Chromebook in just a few minutes. Let’s dive in and start multitasking like a pro!
Why Should You Split Your Screen?
When you are working on a big project, having two windows open is a lifesaver. Think about writing a report while reading a website. Instead of clicking on tabs, you can have both open on your screen at the same time. This is how to split screen on Chromebook to save your precious time. Many students find this helpful for taking notes during online lessons. It makes your digital workspace feel much cleaner and more organized. Once you try it, you will wonder how you ever managed to work without it. It truly changes your daily workflow for the better.
Understanding the Basics of Split View
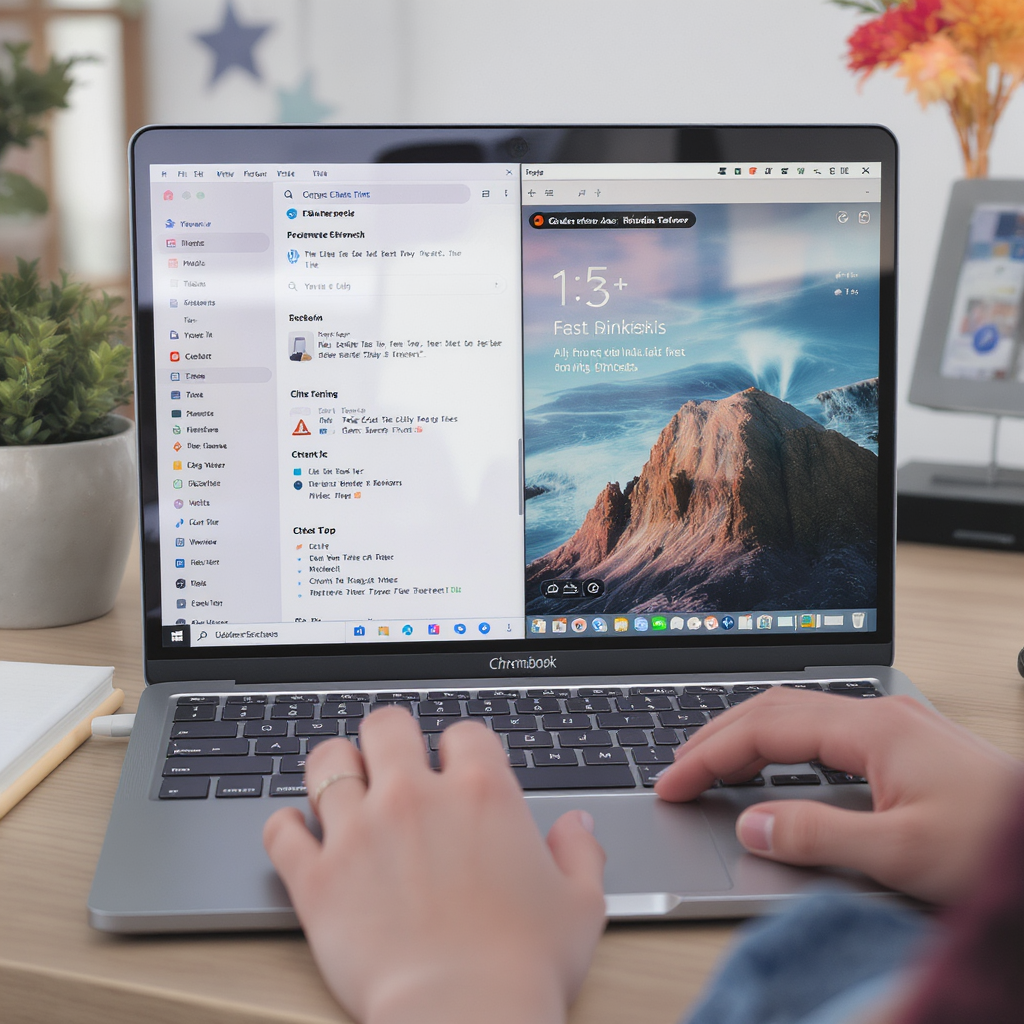
Using a Chromebook is all about making your life easier and faster. The system is designed to help you snap windows into place with almost no effort. When you learn how to split screen on Chromebook, you are using a built-in feature called “Split View.” This feature is great because it works with almost any app you use. Whether you are using a web browser, a document editor, or a messaging app, you can put them next to each other. It is a simple tool that helps you stay focused on your tasks without getting distracted by cluttered windows.
How to Split Screen on Chromebook with a Mouse
If you prefer using your mouse or the trackpad, the process is very simple and smooth. First, open the two windows you want to use. Click on the top bar of one window and drag it all the way to the left side of your screen. You will see a transparent box appear, showing you where the window will land. Release your mouse, and the window will snap into place. Then, do the same for the other window, but drag it to the right side. This is how to split screen on Chromebook using your mouse. It is quick, intuitive, and works every single time.
How to Split Screen on Chromebook with Keyboard
Many people love using shortcuts to move faster. You might be wondering, how to split screen on Chromebook with keyboard commands? It is actually even faster than using the mouse. You can use the Alt key combined with the bracket keys to snap your windows. Pressing Alt + [ moves the current window to the left side of your screen. Pressing Alt + ] moves it to the right side. Knowing how to split screen on Chromebook using keyboard shortcuts makes you look like a tech expert. It is a fantastic way to keep your hands on the home row while you work.
Using the Right Shortcut for Speed
Every tech user knows that speed is key to finishing tasks. The how to split screen on Chromebook shortcut is a favorite among heavy users. By mastering the Alt + [ or ] keys, you can arrange your workspace in less than a second. This is especially helpful if you are working on a tight deadline. Instead of dragging windows around, just tap the keys and get to work. Remember, practice makes perfect. Try using these shortcuts today, and you will notice how much faster you finish your assignments or creative projects. Efficiency is just a few keystrokes away.
How to Split Screen on Chromebook for Students
Students have a lot to manage every day. From writing essays to attending virtual classes, it is a busy life. Learning how to split screen on Chromebook for students is a great way to handle schoolwork. Imagine having your textbook on one side and your essay on the other. You can type while you read, which prevents errors and speeds up your typing. It is also perfect for looking at a teacher’s presentation while you participate in a chat. By organizing your screen, you can focus better and get your homework done much faster every single day.
Quick Comparison Table: Ways to Split Your Screen
| Method | Ease of Use | Speed | Best For |
| Mouse/Trackpad | Very Easy | Moderate | Beginners and casual users |
| Keyboard Shortcut | Fast | Very High | Power users and fast typists |
| Dragging | Simple | Moderate | Quick adjustments on the fly |
Tips for Managing Multiple Windows
Even when you know how to split screen on Chromebook, managing many windows can get tricky. My top tip is to only keep the windows you truly need open. Too many open tabs can slow your computer down and distract you. Also, use the “Overview” button on your keyboard to see all your open apps at once. This helps you jump between tasks quickly. Keeping your workspace clean is a secret habit of successful people. By staying organized, you ensure your computer runs smoothly and your brain stays focused on the important project at hand.
Fixing Common Split Screen Issues
Sometimes, a window might not snap exactly where you want it. This usually happens if the window is too small or if you are in tablet mode. If you are stuck, just resize the window a little bit and try dragging it again. Another trick is to refresh your browser page to clear any lag. If you are still wondering how to split screen on Chromebook after trying these tips, check if your software is up to date. Updating your Chromebook often fixes small bugs that might stop windows from snapping correctly. Stay patient and keep trying!
How to Exit Split Screen Mode
Knowing how to leave the split view is just as important as knowing how to enter it. To go back to a full-screen view, simply click the “Maximize” button at the top right of your window. It looks like a small square. Alternatively, you can just drag the window back toward the middle of the screen. The window will pop out of the split view and return to its original size. Learning how to split screen on Chromebook also means knowing how to get your space back. It is simple to switch between views as your needs change throughout the day.
Customizing Your Screen Layout
Did you know you can resize your split windows? After you snap them to the sides, move your mouse to the middle line between the windows. You will see a small icon appear. Click and drag that line to the left or right. This changes how much space each window takes up. You might want your research window to be smaller than your writing window. This level of control is why learning how to split screen on Chromebook is so helpful. You can customize your layout to fit whatever specific task you are doing at the moment.
Expanding Your Productivity Potential
Once you are comfortable with these skills, you can do even more. Think about using a second monitor alongside your Chromebook. You can split your screen on your Chromebook and then have another full window on the external screen. This is the ultimate setup for someone who does a lot of creative work or data entry. The more you explore, the more you will find that a Chromebook is a very powerful tool for your daily life. Keep practicing these tips, and you will see your productivity grow in no time.

Frequently Asked Questions
1. Can I split my screen into three parts?
No, the standard feature is designed for two windows side-by-side to keep things simple and readable.
2. Does this work for all Chromebook apps?
It works for almost all apps, though some specific mobile apps might have limitations on how small they can be resized.
3. Is there a way to split the screen vertically?
Currently, the standard split view feature focuses on side-by-side (left and right) layouts for the best readability.
4. Why won’t my window snap to the side?
Check if the window is maximized. You must restore it to a smaller size before you can drag it to snap.
5. Are there keyboard shortcuts for other window management?
Yes, you can use Search + Up Arrow to see all open windows or Alt + Tab to switch between them.
6. Does splitting the screen use more battery?
Not significantly! It is a basic visual feature that doesn’t put much extra strain on your Chromebook’s battery.
Conclusion
Mastering how to split screen on Chromebook is a small change that makes a huge difference in your life. You now have the skills to handle multiple tasks with ease and confidence. Whether you are a student finishing an essay or just browsing, these tools will save you time every day. Try using the keyboard shortcuts during your next study session. You will be surprised by how much more you can get done. Do you have a favorite way to organize your desktop, or do you have more questions? Let me know your thoughts in the comments below!